Tool Swap
A tool swap operation allows the easy replacement of a tool on the production line.
Through a series of guided steps, it is possible to select the best replacement tool by migrating the data from the tool currently in use. During the operation, the software performs a pre-validation of the data and shows the user what the final result would be. At the end of the procedure, the inspections previously defined on the tool to replace are created on the replacement tool, while the routes involved are updated with the new inspections defined on the replacement tool.
The Tool Swap page lists the tool swap operations performed on tools that are currently available to the logged-in user.
On the left-side menu bar, click on Tool Swap.
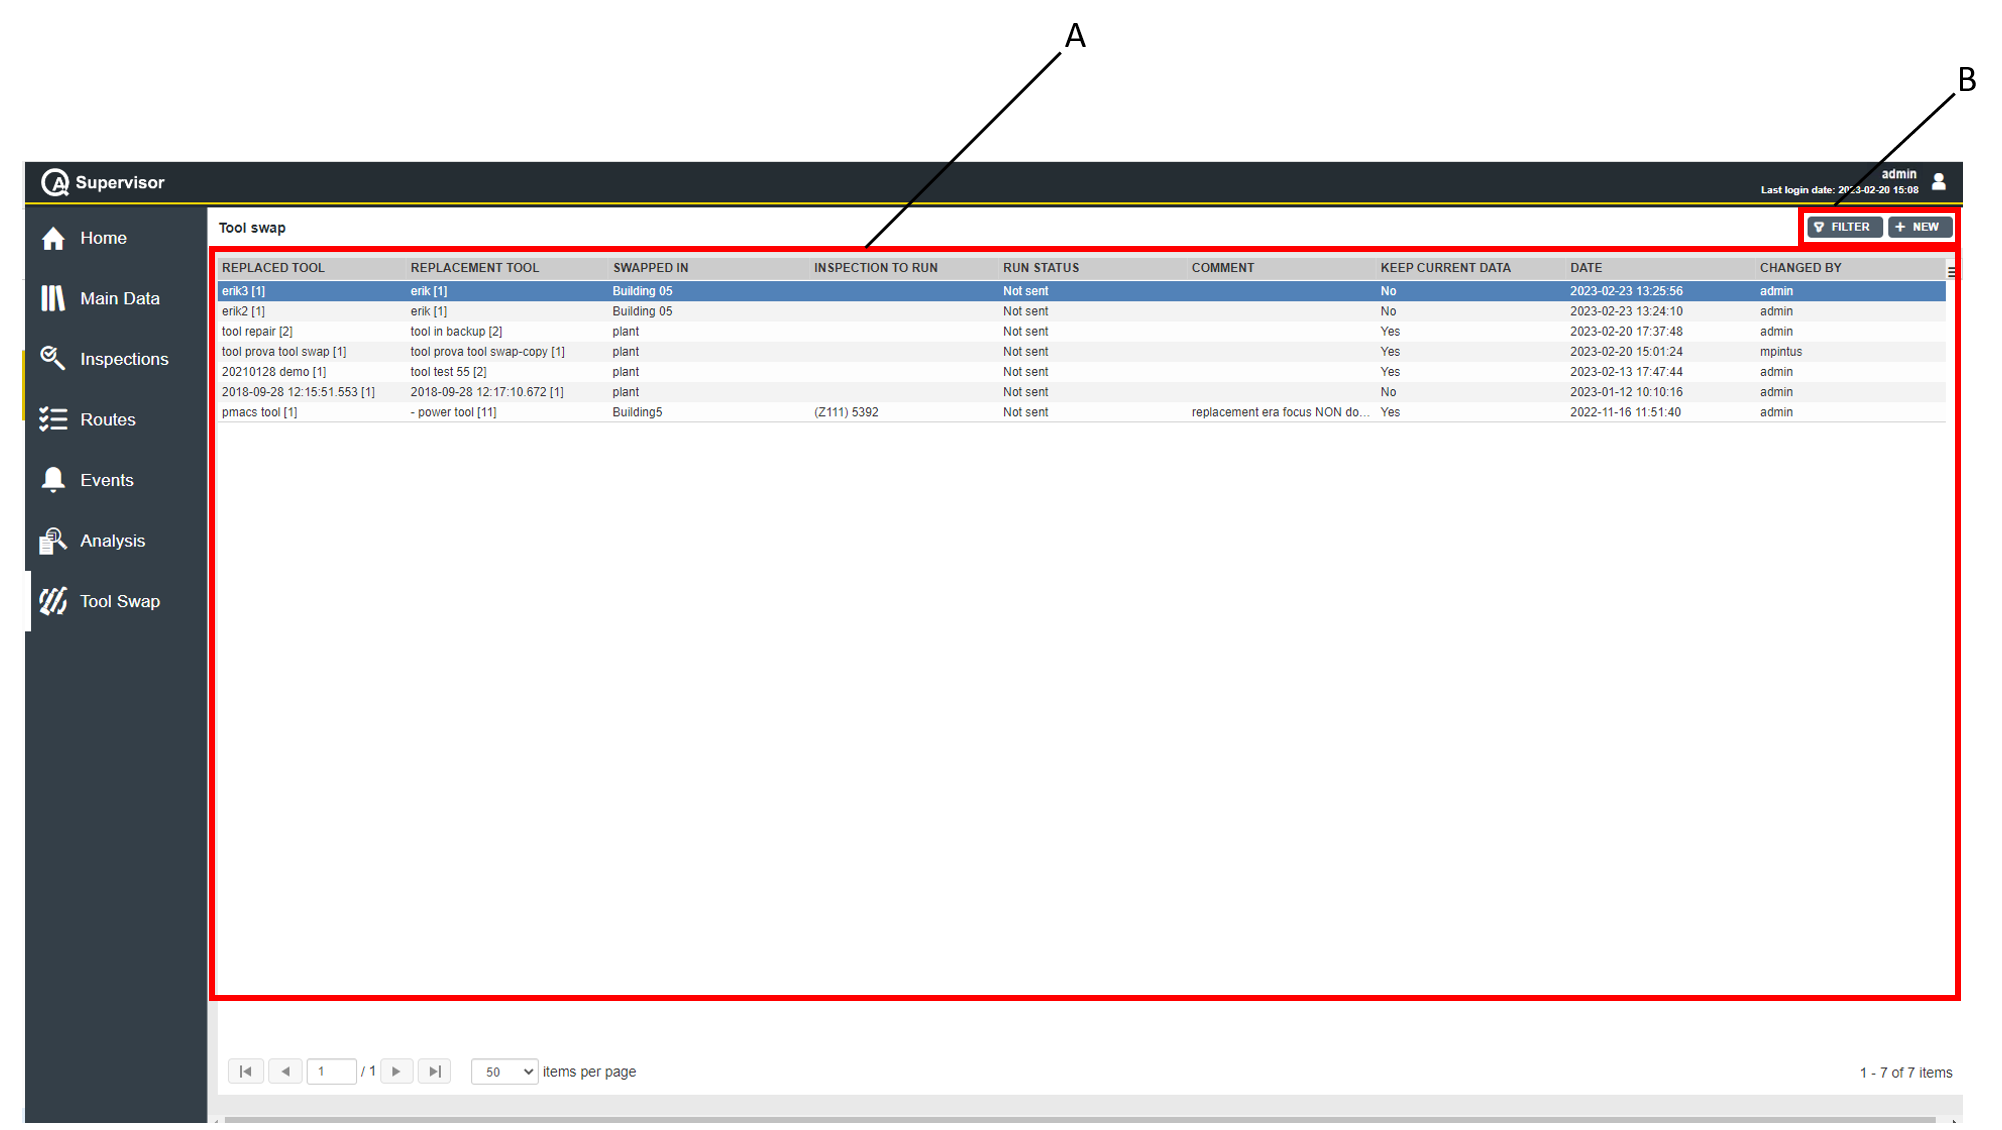
A | Tool Swap workspace | B | Command buttons |
The Tools Swap workspace is divided into the following columns:
Replaced tool: name of the tool that has been replaced through the tool swap operation.
Replacement tool: name of the tool that replaced the previous one through the tool swap operation.
Swapped in: location where the tool swap operation has been performed.
Inspection to run: name of the inspection sent to the replacement tool at the end of the tool swap operation.
Run status: status of the inspection sent to the replacement tool at the end of the tool swap operation. Below are the available options, depending on the status of the inspection:
Sent: the inspection has been successfully sent to the replacement tool.
Not Sent: the inspection failed to be sent to the replacement tool.
Comment: comment left by the user performing the tool swap operation.
Keep current data: status of the data linked to the replacement tool. Below are the available options, depending on the status of the data:
Yes: the replaced tool's joints, controllers and inspections have been merged with the ones already linked to the replacement tool.
No: only the replaced tool's joints, controllers and inspections are now linked to the replacement tool.
Date: tool swap operation date and time.
Changed by: name of the user who performed the tool swap operation.
On the upper-right corner of the Tools Swap workspace, there are the following command buttons:
New: click to perform a new tool swap operation.
Filter: click to give filters and list only the tool swap operation(s) of interest.
In the Tools Swap workspace, click a tool swap to display the related Tool Swap Operation Details card.
On the Tool Swap Operation Details card, a detailed overview of the selected Tool Swap operation is available, listing the following items:
Replaced tool:
Tool: name of the replaced tool.
Version: version of the tool configuration.
Status: tool current status.
Location: area of the plant where the tool is in use.
Replacement tool:
Tool: name of the tool.
Version: version of the tool configuration.
Status: tool current status.
Location: area of the plant where the tool is in use.
Parameters:
Keep current data: status of the data linked to the replacement tool.
Confirmation text: message informing on the status of the replacement tool at the end of the tool swap operation.
Inspection to run: name of the inspection sent to the replacement tool at the end of the tool swap operation.
Run status: status of the inspection sent to the replacement tool at the end of the tool swap operation.
Comment: comment left by the user performing the tool swap operation.
History:
Date: date and time of the selected tool swap operation.
Changed by: name of the user who performed the tool swap operation.
On the upper-right corner of the Tool Swap Operation Details card, click the Close button to exit the Tool Swap Operation Details card.


