Assembling the GFA System on the Pistol Tool
Preparations
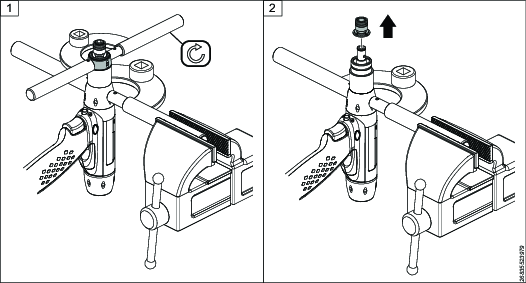
If the ring and locking parts are assembled on the tool, please follow the actions below.
Hold the drive unit in position with a C-spanner securing the gear housing of the tool. Loosen and remove the ring with another C-spanner, in the clockwise direction.
Unlock and remove the locking parts from the drive unit with a small screwdriver.
Assembling the GFA module on the Pistol Tool
Hold the drive unit in position with a C-spanner securing the gear housing of the tool. Clean the threads of the drive unit and the threads of the bottom part of the adapter.
Apply Loctite 2701, or similar, to the threads of the drive unit.
Tighten the adapter with a C-spanner, in the counterclockwise direction, to 30 Nm.
Hold the adapter in position with a C-spanner. Clean the threads of the top part of the adapter, and the threads of the cap nut of the GFA module.
Apply Loctite 243, or similar, to the threads of the top part of the adapter.
Tighten the cap nut of the GFA module with a C-spanner, in the clockwise direction, to 10 Nm.


