Installing and Configuring Java
Download and Install Java. For example, using the Microsoft Build of OpenJDK.

Install Java system-wide, so it is accessible to all users and service accounts. A system-wide installation places Java in a shared directory, such as Program Files on Windows, /Library/Java on Mac OS, or /usr/lib/jvm on Linux.
Navigate in Windows to Control Panel\System and Security\System and then select Advanced system settings.
Select Environment Variables...

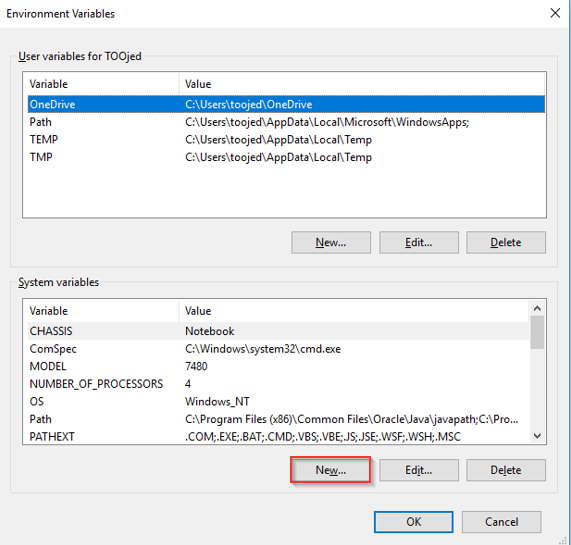
In System variables, select New...
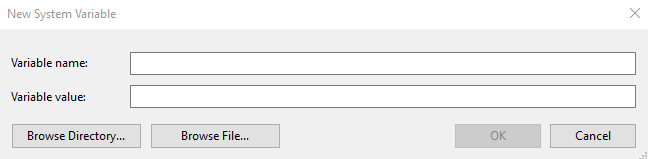
In the New System Variable dialog, input JAVA_HOME in the Variable name field. Use the Browse directory option and find the JAVA installation folder.
Select OK to continue.
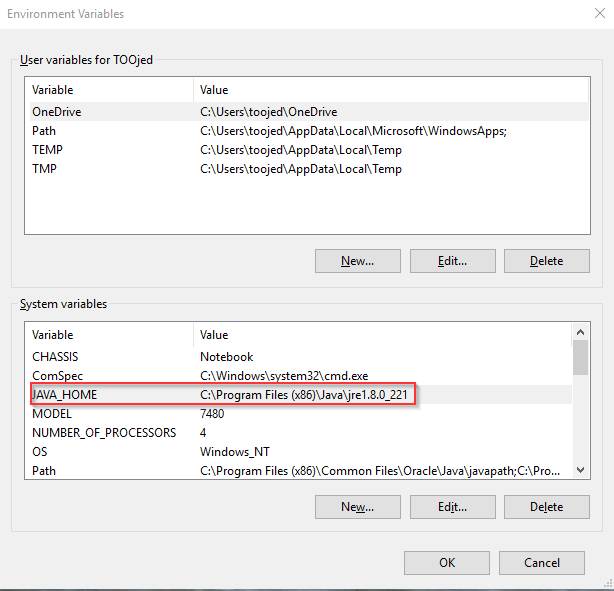
JAVA_HOME will now be added to the System Variables section, as seen in the image below.
Select OK to continue.
Open Command Prompt and enter java -version and check that it prints the newly installed Java package.