Final Assembly of the Drive
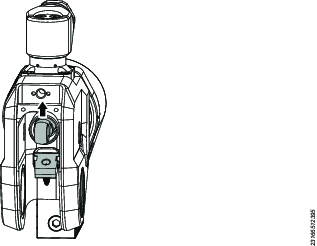
Before inserting the drive components, make sure that the piston rod end is correctly oriented. The engraving "TOP" must be uppermost as shown.
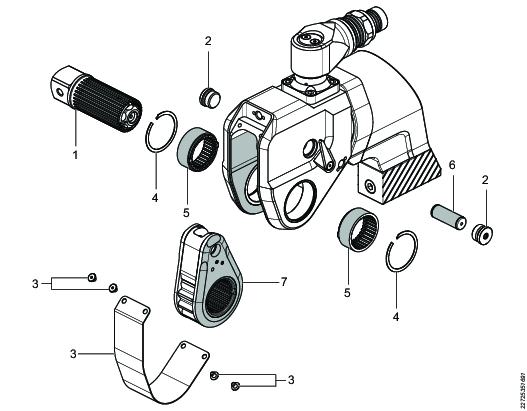
Lubricate the shaded areas of the piston rod and the reaction pawl as shown.
Lubricate the shaded areas with Molykote 1000.
Insert the drive assembly [7] into the housing. Place the piston rod end within the drive pawl.
Position the drive pin hole in line with the access plug holes. Push the drive pin [6] through the housing and into the drive assembly [7].
Install the access plugs [2].
Push the reaction pawl levers upward, then align the ratchet bore with the housing bore.
Align the tabs on the first drive sleeve [5] tabs with the corresponding slots in the ratchet and push it into the housing. Install the retaining clip. Repeat on the other side.
Apply Loctite 243 on the shroud screws. Install the shroud and screws [3].
Insert the square drive [1] through the ratchet.
Rotate the lock button until it pops out. Pull the square drive to make sure that the installation is correct.