Assembling the Ratchet Link
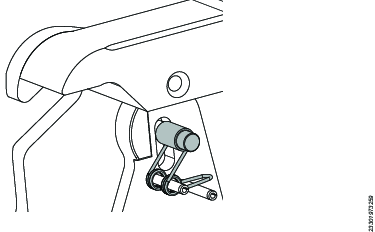
Attach the top spacer, reaction spacer, and reaction pawl pin to the sideplate with the screws. Apply Loctite 243 to the screws and torque in position.
Model
Small Screw Hex Drive
Large Screw Hex Drive
Size
Torque (Nm)
Size
Torque (Nm)
TL02
1/8 in.
6
5/32 in.
12
TL04
5/32 in.
12
3/16 in.
16
TL08
3/16 in.
16
7/32 in.
20
TL14
7/32 in.
25
5/16 in.
35
TL18
7/32 in.
40
5/16 in.
50
TL30
5/16 in.
45
3/8 in.
55
Lubricate the sideplate and the reaction pawl pin with Molykote 1000. Then assemble the shroud and reaction pawl with the spacers and the spring.
Apply Loctite 243 to the shroud screw and tighten into the reaction spacer.
Lubricate the driveplate and the bearing diameters of the ratchet with Molykote 1000. Then install on the sideplate.
Insert the ratchet through the drive plate and into the sideplate.
Put the spring pins [2×] into the drive plate.
Assemble the drive pawls [2×], spring, and spring guide.
Install the drive pin and spring.
Lubricate both sides of the second driveplate with Molykote 1000. Position the holes in line with the spring pins, then tap the spring pins into place. Make sure that the drive pawl holes remain in line.

Make sure that the gap between the driveplates is parallel and evenly spaced, and that the springs are hooked over the pin for the drive pawls to function correctly.
Test that the drive pawls function as expected: hold the ratchet and push the drive plates.
The drive pawls should both lift over the ratchet teeth and click back into place. If the drive pawls get stuck, make sure that the gap between the driveplates is correct.
Lubricate the bore and inside face of the sideplate with Molykote 1000. Put the sideplate over the ratchet and position the screw holes in line. Apply Loctite 243 to the screws and torque in position as before.
Insert the retaining pin through both sideplates. Position the pin cutout in line with the screw hole, then install the friction washer and screw. Adjust the torque on the screw to get the correct friction against the pin.


