Puller Bar Assembly
A new puller bar will be supplied with a new reaction nut and a small fixing screw.

Before dis-assembly, make a note of the position of the reaction nut. The top face of the reaction nut should be in line with a step on the puller bar.

Remove the small fixing screw and unscrew the reaction nut.
Apply a lubricant to a band around the puller bar blend radius.
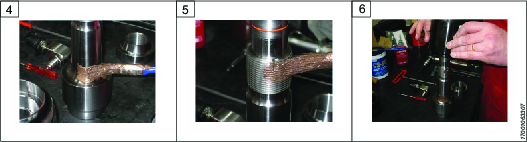
Apply a lubricant to the puller bar threads.
Stand the puller bar vertically and assemble the load cells onto the puller bar.
Allow the load cells to rest on the puller bar.
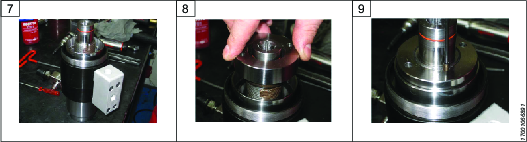
Screw the reaction nut onto the puller bar threads.
Rotate until the reaction nut fixing hole aligns with the fixing hole in the puller bar, the top face should be aligned with the step on the puller bar.


